Hey everyone, so altered things is another one of my favs to do. With it being back to school time you can usually get a good deal on composition notebooks so I grabbed one with a project in mind. My grandson is a dinosaur freak....he knows everything there is to know about dinosaurs (he is 9 and can talk about dinosaurs for the entire day lol)
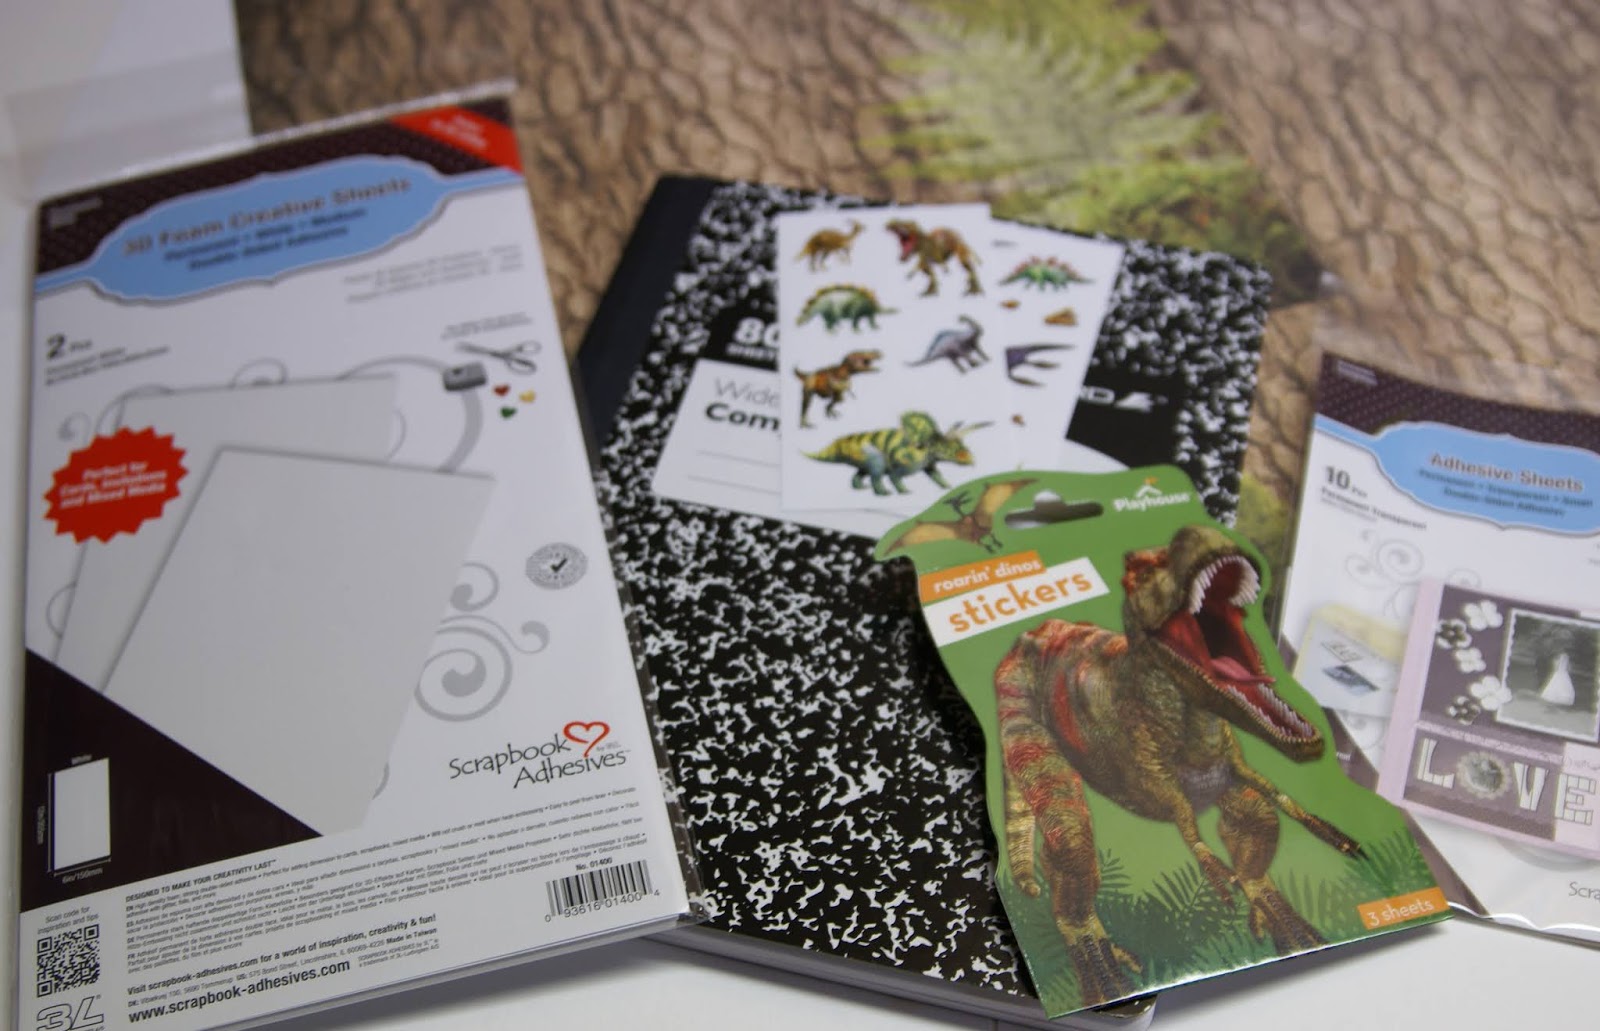
So i took a plain composition notebook and altered it for him to write in. I started with the notebook, these awesome dinosaur stickers from Paper House Productions, adhesive sheets, and the tree bark paper.
So first I simply cut the paper to fit the cover of the notebook. I did cut it slightly bigger so I didn't have to worry about putting it on the adhesive straight. Next I placed the adhesive sheet on the cover of the notebook.

I then puller them up by the tab (the adhesive will stay on the album) and placed the pattern paper on the cover. Next I opened the notebook and cut the extra off with my blade and i used a file just on the corners.

Now it was time to make it his by adding the dinosaur stickers and his name on the book. I added a little keepsake envelope into the inside for the extra dino stickers I didn't use so he can place them anywhere in the notebook.I'm sure he will write all kings of things about dinosaurs in this book!

Supplies used:
Tree Bark Single-Sided Paper
Dinosaur Shaped Sticker Pack
Don't forget to hop over to Paper House Productions and grab your creative goodies today. Use PH19STACY and get 20% off your entire order!!
Thanks for stopping by!
~Stacy~