Thursday, November 27, 2014

Happy Holidays Treat Box

Hey there everyone, thanks for stopping by today.  Xyron has lots of Holiday projects for you.....30 days!!! Make sure you stop by the Xyron facebook page to get a link everyday for the Holiday project of the day!


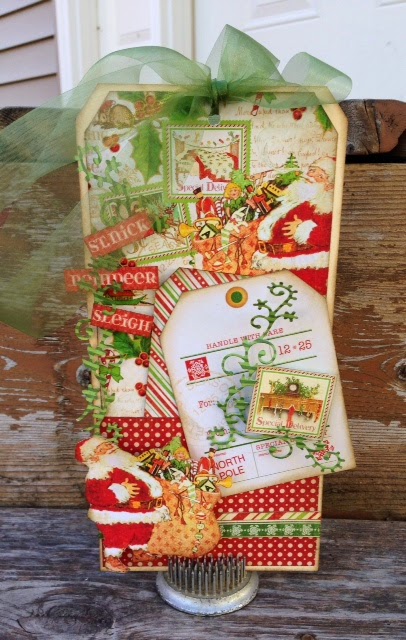
Candy treat boxes are such a fun and cute thing to give around the Holiday season.....I mean who doesn't love candy???  That is the project i'm sharing with you today.  Lets start with the finished project, then I will share with you how I made them.


Gather all of your supplies...I used Xyron Mega Runner, foam squares & 510 Create A Sticker SRM boxes, Simple Stories paper, Tim Holtz goodies, May Arts ribbon, and of course M&M's.


Cut your pattern paper about 1/4" smaller then the box you are using.  Ink your edges before you place the adhesive on the back.


Run your pattern paper through the Xyron 5" Create A Sticker Max.


Center the paper on the box.


I added a small strip of pattern paper around the box toward the bottom.  For this I simply ran the paper through my Xyron 1.5" Create A Sticker.


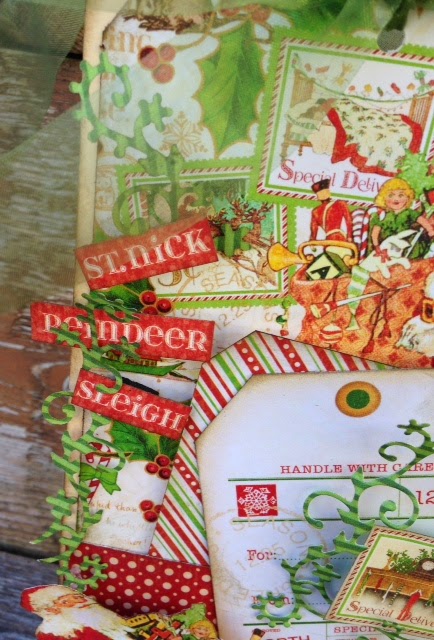
Now the fun part....adding tags and charms.  I inked the tag and used the Xyron Mega Runner for the sentiment.  The heart I popped up with a foam square from the Teresa Collins Adhesive Kit.


I tied the May Arts ribbon in a bow around the box, then added the tag using some of my Tim Holtz goodies in my stash.


Here is the view of the front of the box under the tag.


I created two boxes of candy and here is the other one.


Supplies Used:
Xyron - 1.5" Create A Sticker, Teresa Collins Adhesive Kit, 5" Create A Sticker Max
SRM - Clear Boxes
May Arts - Green ribbon
Simple Stories - DIY Christmas
Idea-ology - Tim Holtz (charms, flashcards)
Ranger - Distress Ink (walnut stain)
M&M's

Thanks so much for stopping by today, Happy Thanksgiving!!
~Stacy

Tuesday, November 25, 2014

2014 Christmas Mini } Die-namites & Viva Las Vegas Stamps

Hey there everyone, thanks for stopping by today.  I'm sharing my project created for the Die-namites & VivaLasVegasStamps blog hop.


I love the amazing stamps that Viva sent me, and the vintage looking numbers were perfect to add to the cover of my little mini album.  For my die of choice I used the Snowy Sprig die.


So I created a mini album for this project today using Graphic45 Twas The Night Before Christmas collection.


The Snowy Sprig die I cut apart and layered the pieces on top of each other.  I stamped the numbers using Ranger Archival Ink (vermillion) and then cut them out.  I popped them up using foam squares over the Snowy Sprig.  It made the perfect addition to the cover of my Christmas mini album.


Supplies Used:
Die-namites - Snowy Sprig
VivaLasVegasStamps - Vintage numbers
Ranger - Archival Ink (vermillion)
Graphic 45 - Twas The Night Before Christmas

Thanks so much for stopping by.  Make sure you hop on over to the Die-namites blog and see all of the amazing creations!!

~stacy
  

Thursday, November 20, 2014

Dash Away

Hello everyone, today i'm sharing a Christmas card that I created today for my post over on the Die-namites blog.   Since Christmas will be here before we know it, I started slowly working on my cards....hopefully I won't have to buy boxed cards this year!!

I just got this super cool die in the mail and knew that I had to break it out and use it.  The detail on this one is AMAZING!!!!  This die it called Beuatiful Ornament and you can grab it HERE online!


So for my Christmas card I used the new line from Graphic 45 Twas The Night Before Christmas, which was the perfect fit for this ornament.  I cut 2 ornaments out.  One in green for the top and the other in the red for the ornament itself.  I also popped this up off the card to make it stand out a little more.


Supplies Used:
Die-namites - Beautiful Ornament
May Arts - Green ribbon
Xyron - Mega Runner & foam squares

Thanks so much for stopping by the blog today, hope this inspires you to start or finish your Christmas cards.

~Stacy

Wednesday, November 12, 2014

Holiday Tag Fun

Hello everyone thanks for stopping by today.  I'm sharing a fun Christmas tag with you today that is up over on the amazing Die-namites blog today.  Tags give any project the extra touch.  You can add them to layouts, or simply tie them on gift bags.  With the Holiday season coming up soon, I made a Christmas tag perfect to tie onto any gift bag as an extra little bonus gift.


The Die-namites die that I used on this tag is the Floral Corner die.


I cut the pattern paper rather than cardstock for this one.  I thought it need a touch of a green floral something up the left side and around the popped up stamp.


It maybe a little hard to see, but I did lightly ink the die cut using a walnut stain distress ink.


Supplies Used:
Die-namites - Floral Corner
Graphic 45 - "Twas The Night Before Christmas
May Arts - Green ribbon
Xyron - Mega Runner & foam squares
Ranger - Distress Ink (walnut stain)

Thanks so much for stopping by today, I hope this inspires you to created some gift tags to tie onto your Holiday gift bags.

~Stacy

Tuesday, November 11, 2014

Grateful Mini Album

Hello everyone, thanks for stopping by today.  Hope you are enjoying all of the amazing projects created by the design team using the fabulous Petaloo and Authentique products this week over on the Petaloo blog.
This time i'm sharing a mini album that I created for Fall.  This Grateful collection from Authentique is amazing and the Petaloo products totally rock with this collection.  I am loving all of the fall colors with this fabulous combo of products!!
Here is the front of my mini album.

Petaloo auth nov1

The album itself is a Basically Bare album that I had in my stash.  I cut the pattern paper 1/4" smaller, then inked it with Ranger Distress Ink (walnut stain) and adhered it to the front with my Xyron Mega Runner.  I took the Petaloo goodies and placed them all along the left side of the album.  Once I was happy with how it looked I placed them down on the cover with my Xyron liquid glue. I used Petaloo Darjeeling Leaves Small, Darjeeling Mini Mix, Darjeeling Hydrangea, and Darjeeling Medium Mix.  I tied some of the Crochet Lace Trim around the album to have it hang around the side of the album.

Petaloo auth nov3

Petaloo auth nov2

There is plenty of room to place photos inside of the mini album as well as space to write about why you are thankful this Holiday season.

Petaloo auth nov4

Supplies Used:
Petaloo - Darjeeling Collection (Medium Mix, HydrangeaMini Mix and Leaves Small) Crochet Lace Trim
Authentique - Grateful Collection
Xyron - Mega Runner, liquid glue
Ranger - Distress Ink (walnut stain)
Thank you so much for stopping by the blog today, hope you have a fabulous day!!
~Stacy

Wednesday, November 5, 2014

Hostess Thank You Set

Hey there everyone, Thanks for stopping by today.  I'm sharing a fun little Thank You set that I created with this months Clear Scraps Creating Made Easy kit. This months kit is perfect for any fall project that you still need to create!!  You can see all the cool stuff in the kit here.

 I'm going to share a great way to tell your Thanksgiving hostess thank you for a fabulous dinner!  Our Thanksgiving dinner last year was spent at my sister in laws house. This was her first time hosting dinner.....(we didn't get to eat because umm....well the turkey was not done on time, only about 6 hours late)!!!  This year she says it will be done on time and that last year was her trial dinner.  
I thought it maybe nice to bring her a little thank you gift for all of her hard work this year.  I took one of the bags from the kit and altered it for a perfect little gift bag.  I also used the acrylic card from the kit and made her a Thank You card as well.  I love the added burlap across the front of the card.

Clear scraps nov4

I think it's the perfect little way to say thanks for a fabulous family dinner.  Don't forget to stop by and check out the kit and grab yours today!

~Stacy

Monday, November 3, 2014

Fall Family Mini

Hello everyone, thanks for stopping by today.  I'm sharing a cute little mini album perfect for those Fall photos or photos for you upcoming Thanksgiving Holiday Dinner.

I love this super cute line from Simple Stories so that is the line that I created this album with.  I used the pattern paper itself as the base instead of adhering it to any chipboard.  I cut the album to 6" x 8" and then used my We R Memory Keepers Cinch machine to do the binding.

Fall petaloo mini1

The "Family" image on the front was cut apart from one of the sheets of paper and I also cut apart some of the saying from the same sheet.  I used my Xyron foam squares to pop all of those up.  The Petaloo Burlap Mixed Texture Layers (Amber) and the amazing Cluster Berriers add the perfect touch to the cover. I used the liquid glue from Xyron to adhere my flowers to the cover.

Fall petaloo mini2

On the black coil binding I tied some May Arts ribbon (brown) to give the coil a little extra something also.

Fall petaloo mini3

Now my Thanksgiving mini album is ready to go....just insert photos!!!
Supplies Used:
Petaloo - Berry Clusters, Mixed Texture layers (amber)
Simple Stories - Sweater Weather
Xyron - Foam suqares & liquid glue
May Arts - Brown ribbon
Thanks so much for stopping by today, don't forget to add flowers to the cover of your next mini album!!

~Stac